Showing posts with label print on patterned paper. Show all posts

Tuesday, July 24, 2012

3 Drawer shelf & Modpodge

Here's another idea for your classroom organization!!!

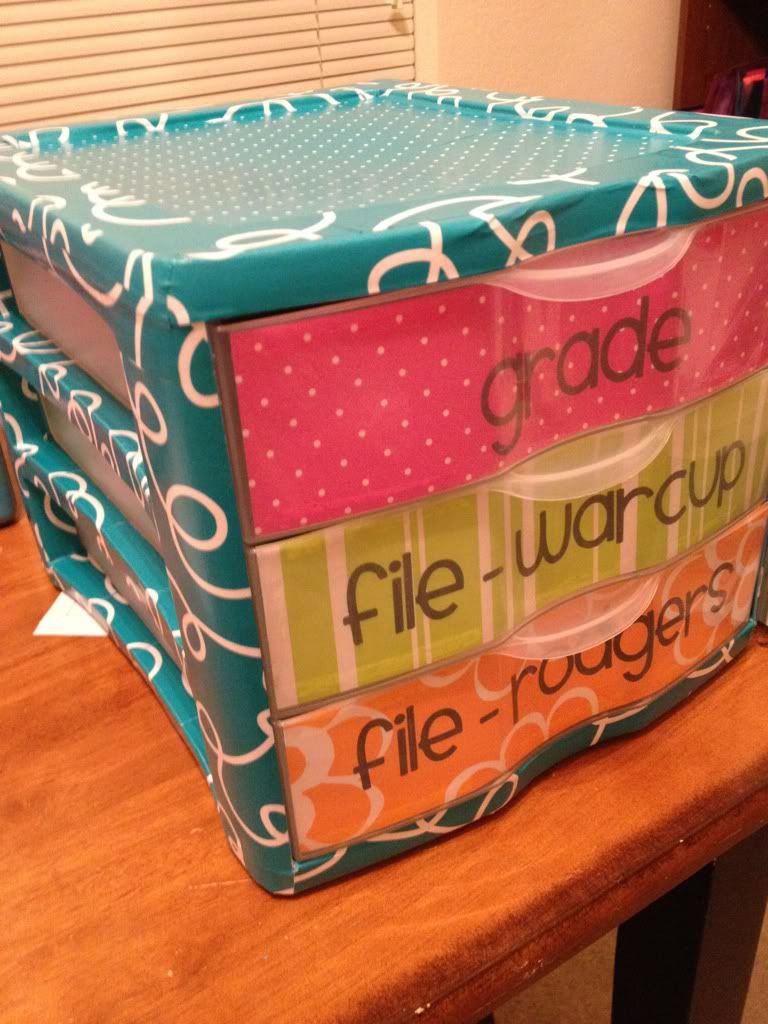
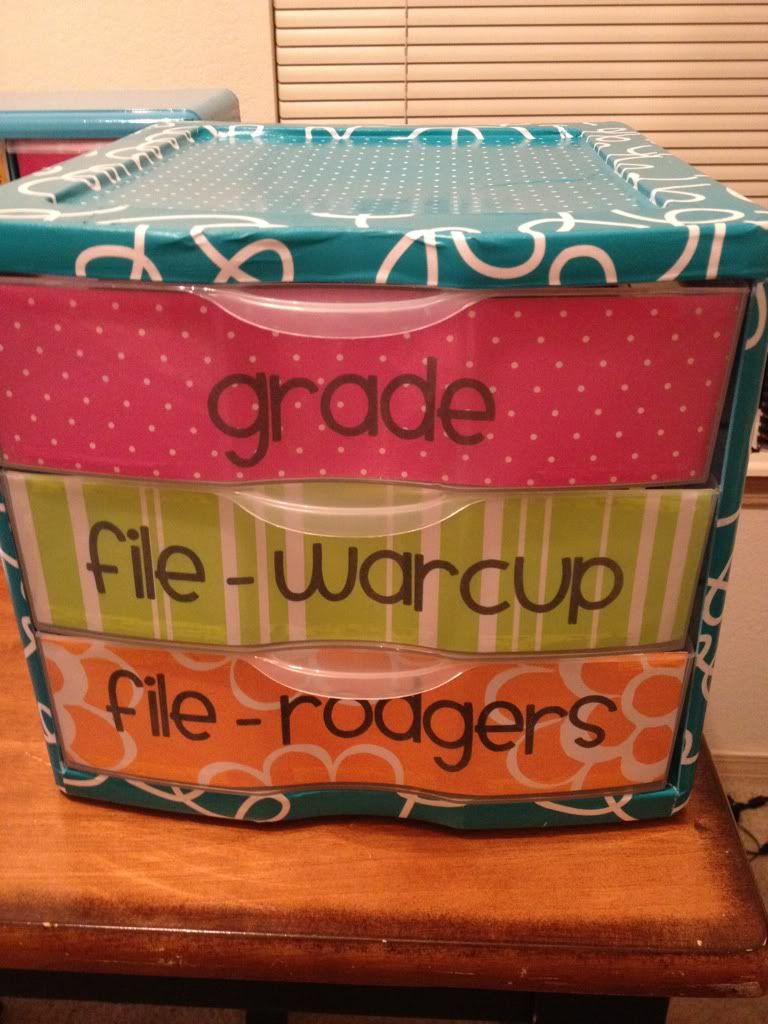
I have created this little beauty to sit next to my desk and keep papers off my desk! (Sometimes known as the black hole.) There are two file drawers because I partner teach with Ms. Rodgers so I needed to keep her kiddo's stuff better organized.


I took this idea from Pinterest of course... Here is the picture I was inspired by... Go check out her post at http://www.hillarykiser.blogspot.com/2012_06_01_archive.html
She's also got some great ideas for teachers! Love her blog!
NO PAPERS ON THE DESK! Eliminate the tower of papers on your desk.

My modpodge shelf project went so well I decided to dress up a 3 Drawer shelf I picked up at Wal-Mart the other day. I thought I would be happy with spray painting it - but my CDO (.....OCD in alphabetical order!!) couldn't live with the small amount of chipping that took place.


So enter modpodge!!! And after the first strip or two of this patterned paper I KNEW I had to cover it entirely.
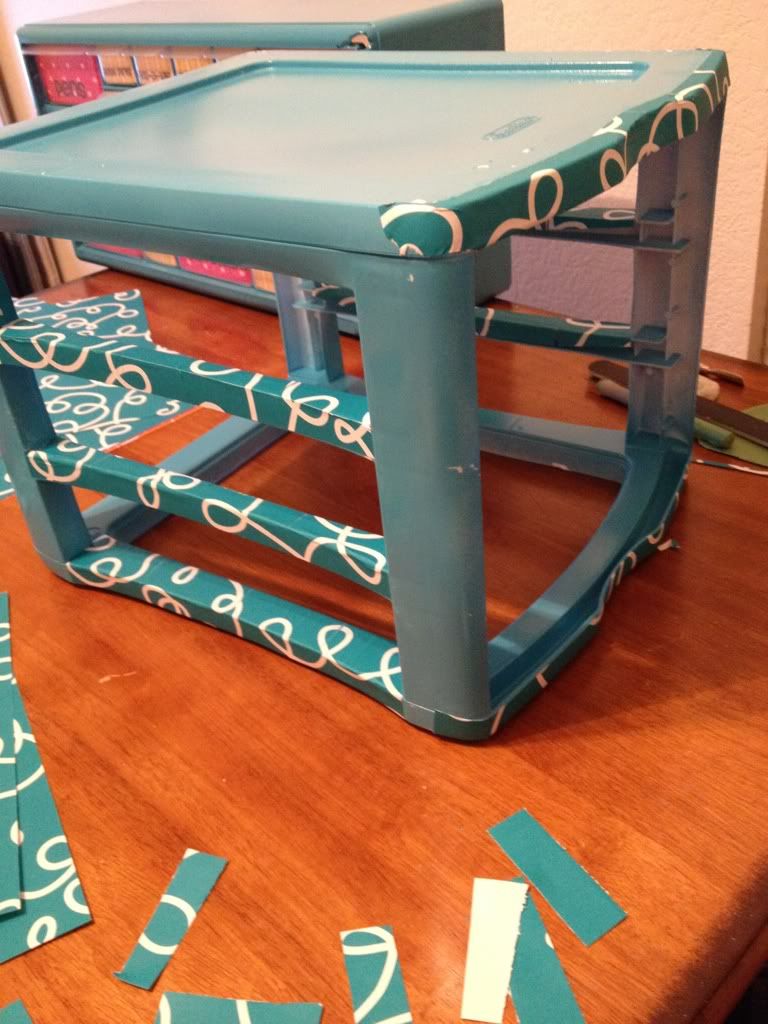

Isn't it so cute??!!?!
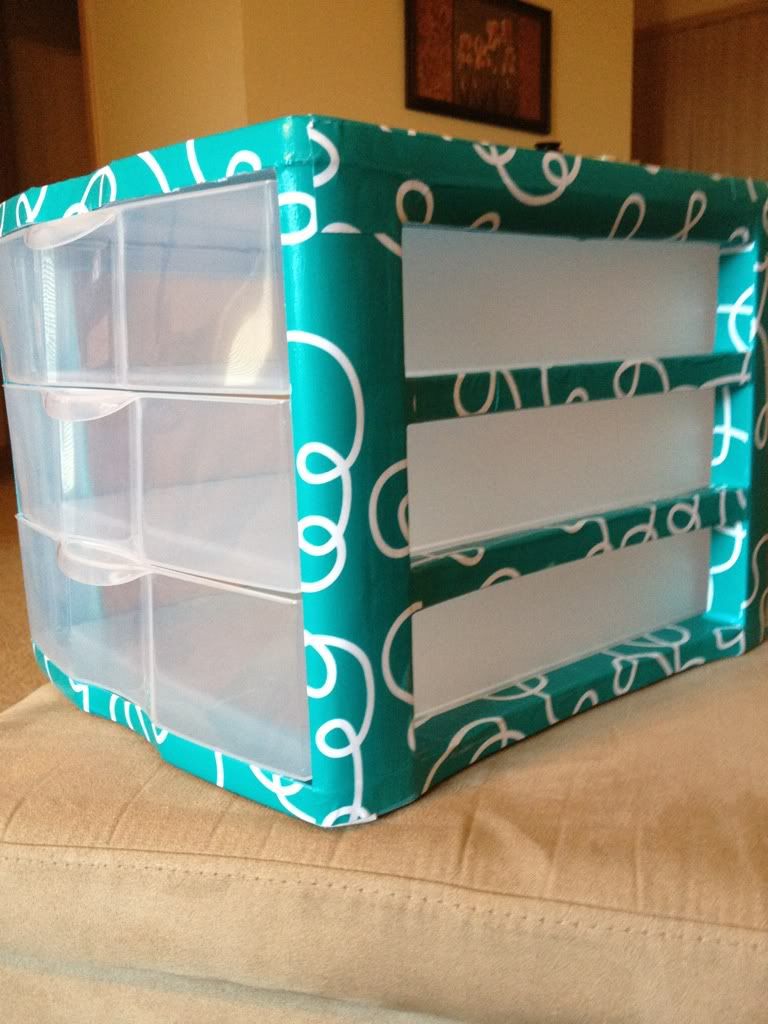


Well..... if you haven't guessed already.... that wasn't quite enough. :) More pinterest inspiration and I had to add cute labels to the drawers.
So I used my priniting on patterned paper technique I showed you in my previous post.

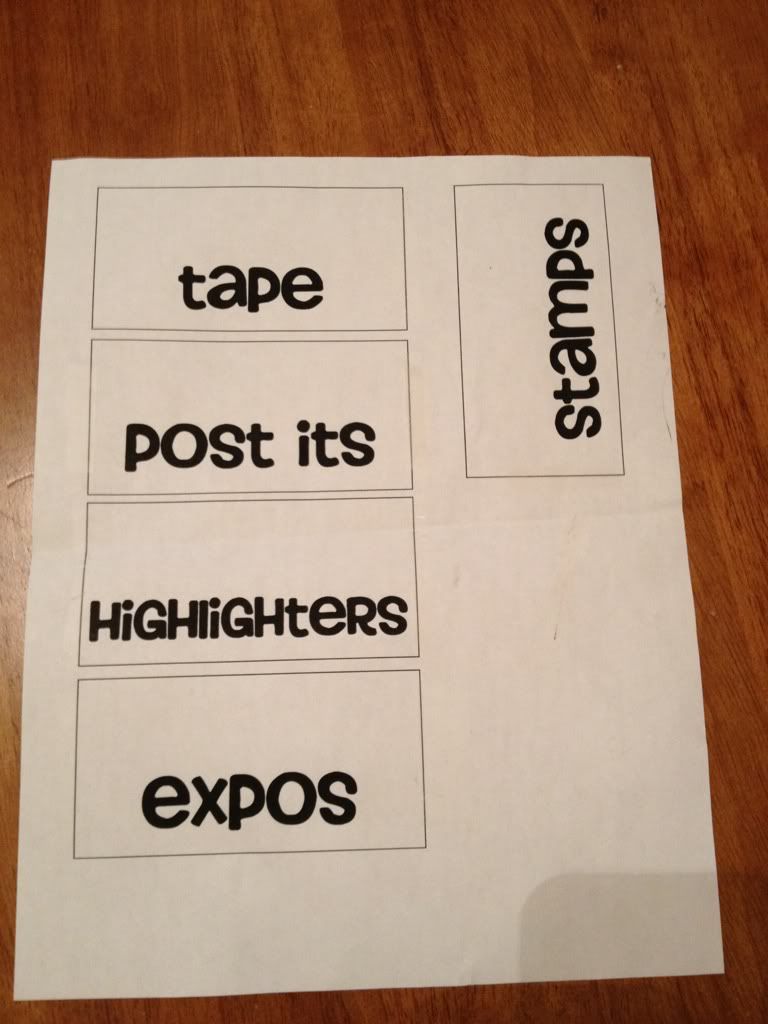
I printed a template using Microsoft word and textboxes... BTW I got my super cute font FREE from kevinandamanda.com - it is called Smiley Monster. LOVE IT!
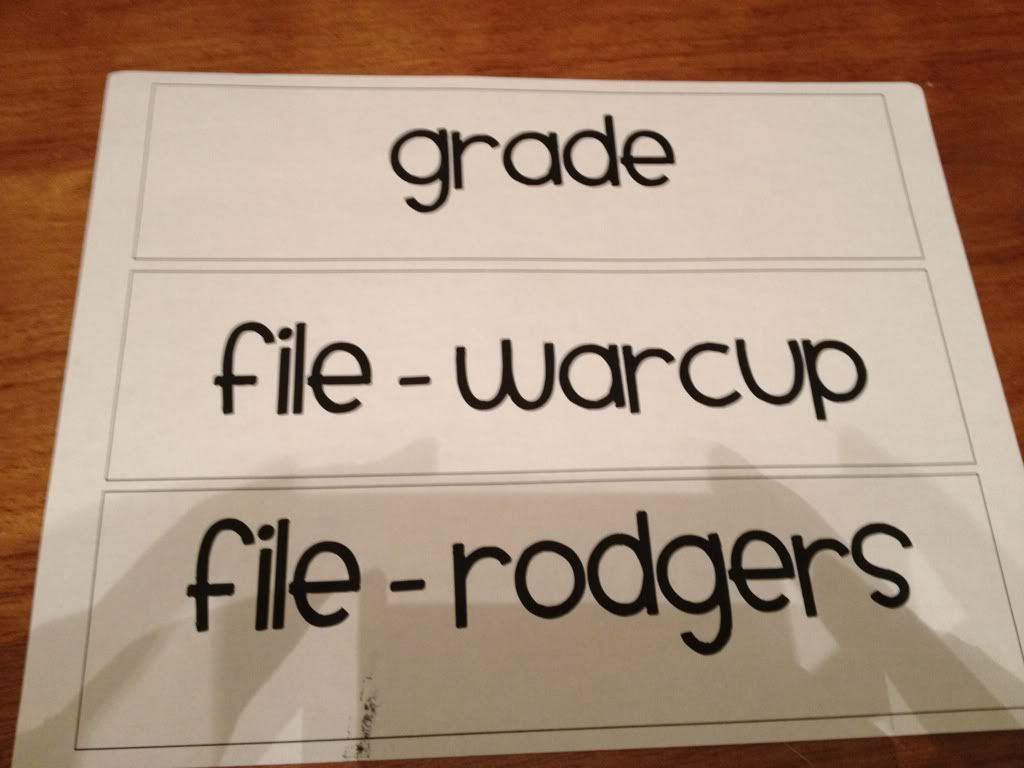
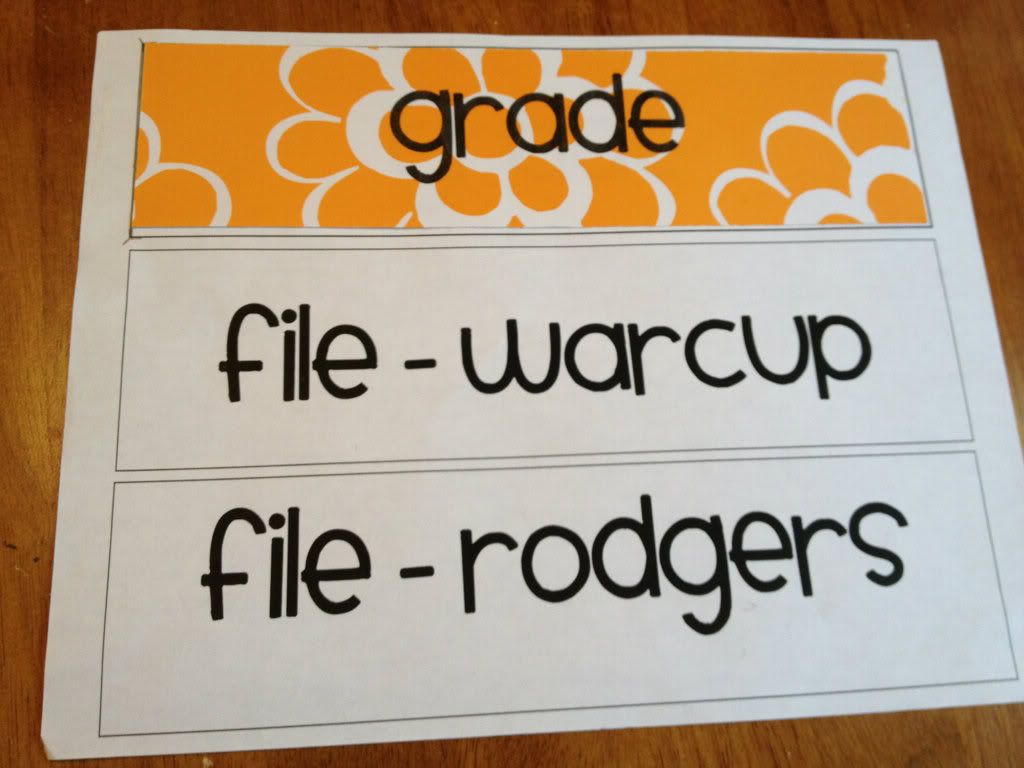
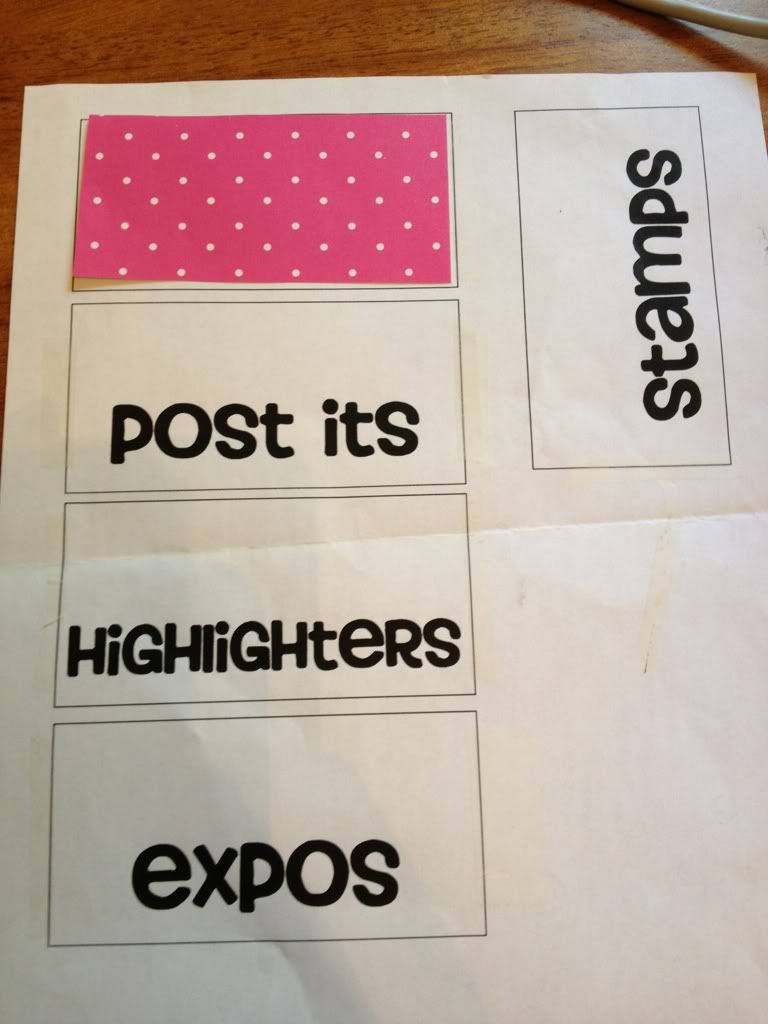
Cut the patterned paper I wanted to size and made sure it fit....


Re-printed without the textbox outlines and was done!

What do you think??


Thanks for stopping by!!!


Pin It!

How to Print on Patterend Paper

In my last post I showed you my Teacher Toolbox. When I was looking for ideas on Pinterest for this project, I noticed different bloggers posting about the amount of paper they wasted to get their toolbox to turn out just right. How terrible!!! Trust me - as a scrapbooker - any wasted patterned paper is a tragedy.

I wanted to show you an easy way to print on patterned paper when you only want to print on a small piece... This can be done on a shape, tab dividers, labels for a shower or party, or on birthday cards! (Click here for my post about the birthday cards I made for my class!)

First I laid out the size boxes I needed in Microsoft word and set them with one of my favorite free fonts - Howser. Once I was happy with the font/size/spacing I printed the page with the text boxes outline included. This will be the template for the patterned paper.


Next I cut down my patterned paper to fit the box that was printed on my sheet.


Next I taped the patterned paper down. But before I did that I put the tape on my forearm (or cheek!) to keep it from being TOO sticky on the patterned paper. No one wants to tear their pretty paper!! (Consider it a mini-facial while crafting!!) :)
I don't know if the picture shows - but I barely put the tape on my patterned paper. (You can always hold your paper and template up to a light source to double check that your tape won't get any ink on it when you print again.)

Once all the patterned paper I needed was taped down I ran it back through the printer AFTER I turned OFF the outline of the textboxes. This way it only prints the words I wanted and I know it will print it exactly where I want it.  (Sorry if the bigger font was too dramatic... but it's a biggee!)


Lastly I CAREFULLY pulled off the patterned paper. And wah-lah! You have personalized patterned paper!

Once you get the hang of this you can use it on practically every label in your classroom! I know it "wastes" ink by making the template... but incase you don't know... remanufactured ink is dirt cheap on Amazon. I have been using it for awhile now. It is definetly something worth looking into!


Thanks for stopping by!

Please let me know if my instructions did not make sense in any way or if I can be of any help!
Pin It!