Showing posts with label classroom organization. Show all posts

Tuesday, July 24, 2012

Pencil Organization

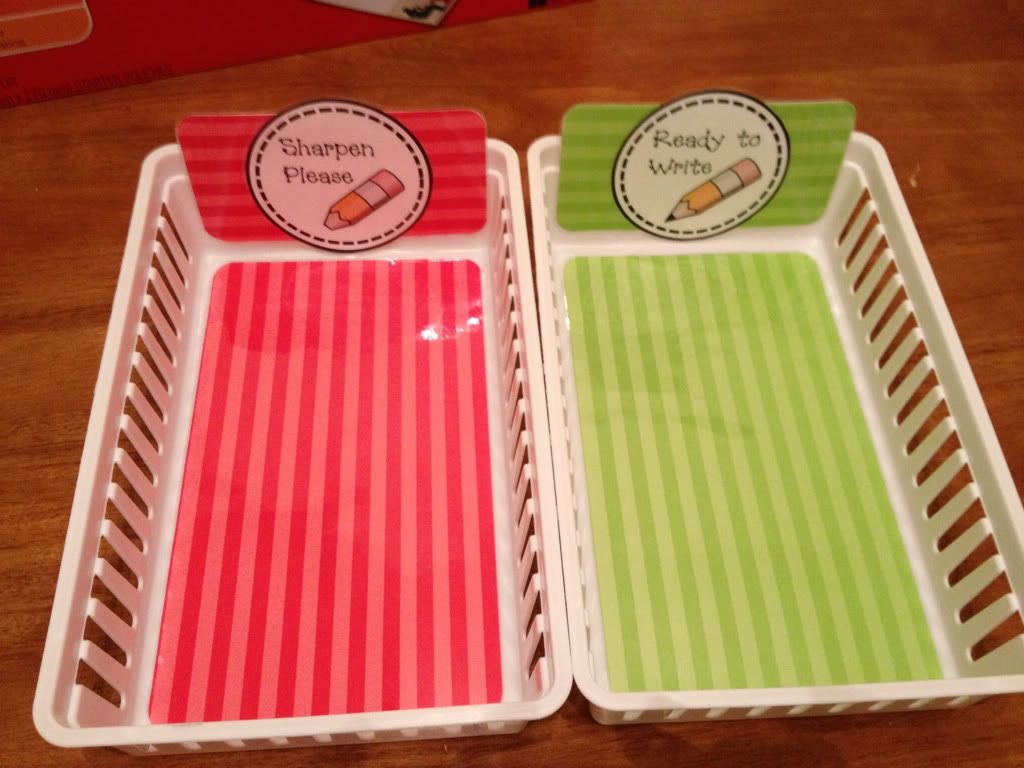
I have decided to update my pencil (can) holder. Last year they were in tin cans covered and labeled. I liked them but they weren't completely functional. I say that because the kiddos had to reach into the can and then decide if that pencil tip would work for them. Sounds weird, but I know you have the one or two kiddos who HAVE to have the SHARPEST pencil in the batch. One little darling  in particular would pull out a handful, search and search, and then place the ones that didn't make the cut back. And on some occasions the tips would break and the rest of the class would pull back an already broken pencil. (I have a strict lead down rule so there are no accident impalements!)

So I searched on my second favorite teacher website, Proteacher.net. (second to Pinterest of course!) I typed in "pencil can labels" and found the cutest label! I immediately knew what I would do! The label was shared for FREE from the fabulous Peace, Love and Learning blog. Go check her out!

I bought these two white bins from Wal-Mart.
I used my handy dandy laminator and some scrapbook paper to decorate.


I hope these work better for them since they will see the pencil before they pick it up!

What do you use in your classroom for pencils?  I'd love to hear your pencil procedure!
Pin It!

3 Drawer shelf & Modpodge

Here's another idea for your classroom organization!!!

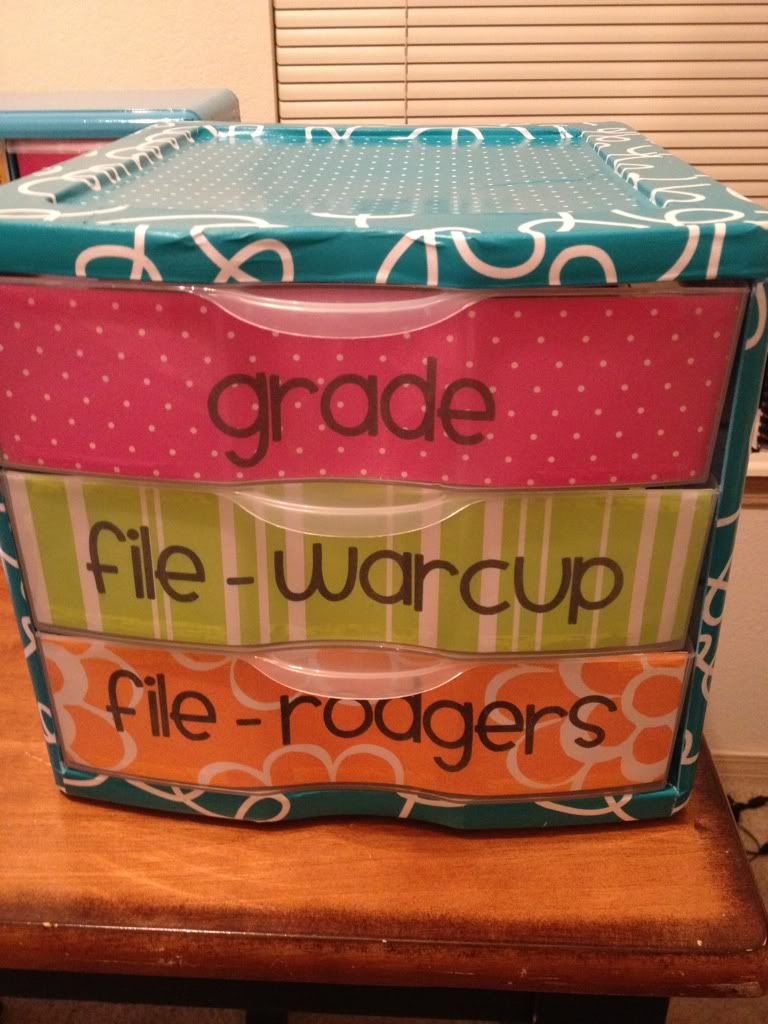
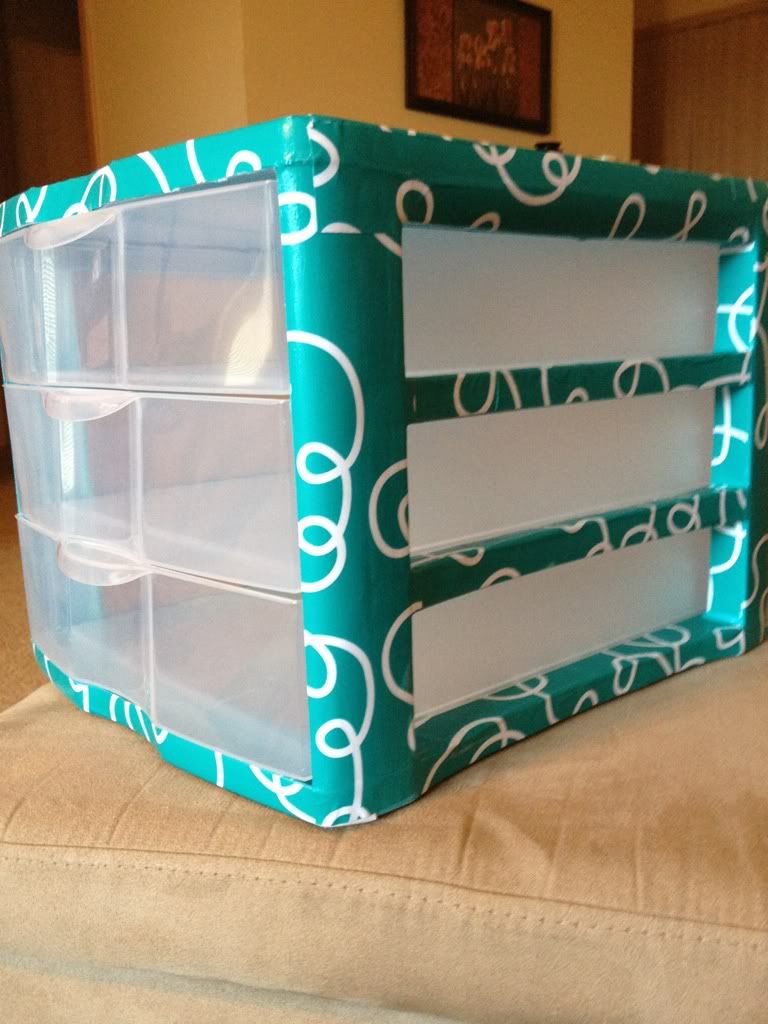
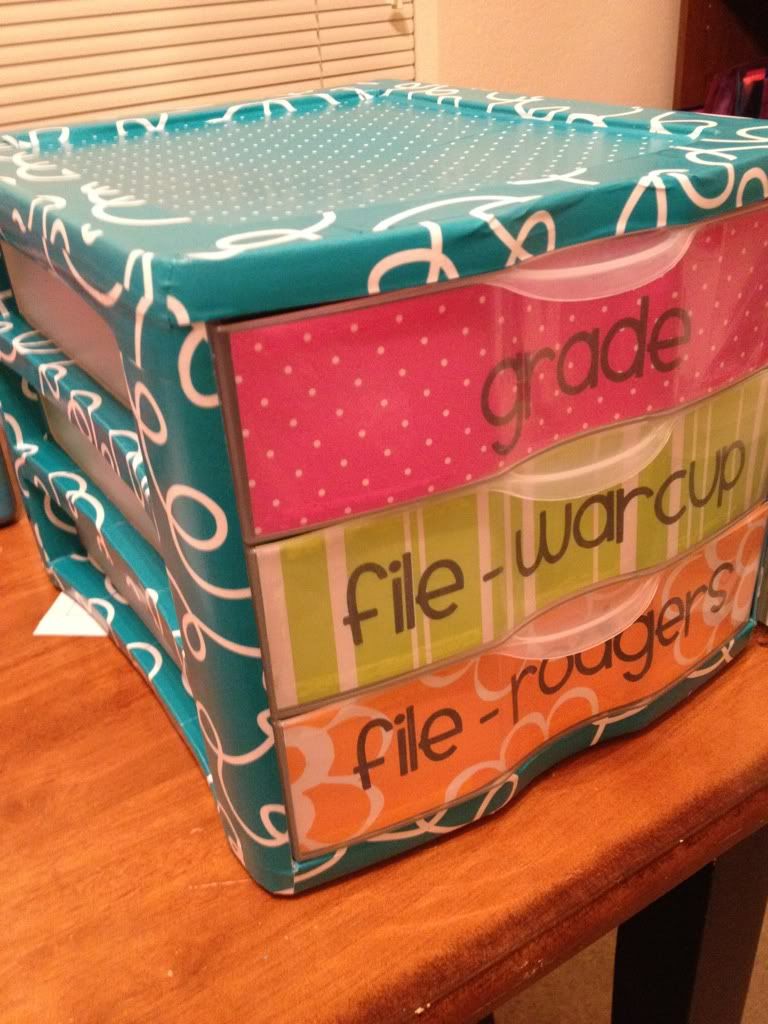
I have created this little beauty to sit next to my desk and keep papers off my desk! (Sometimes known as the black hole.) There are two file drawers because I partner teach with Ms. Rodgers so I needed to keep her kiddo's stuff better organized.


I took this idea from Pinterest of course... Here is the picture I was inspired by... Go check out her post at http://www.hillarykiser.blogspot.com/2012_06_01_archive.html
She's also got some great ideas for teachers! Love her blog!
NO PAPERS ON THE DESK! Eliminate the tower of papers on your desk.

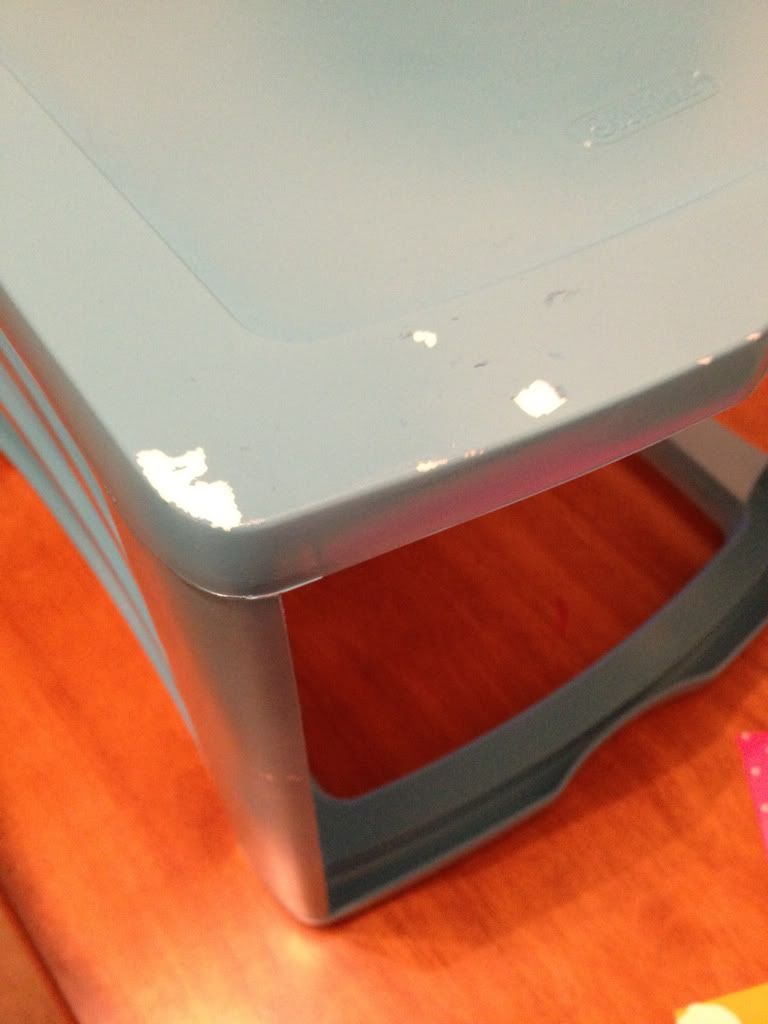
My modpodge shelf project went so well I decided to dress up a 3 Drawer shelf I picked up at Wal-Mart the other day. I thought I would be happy with spray painting it - but my CDO (.....OCD in alphabetical order!!) couldn't live with the small amount of chipping that took place.


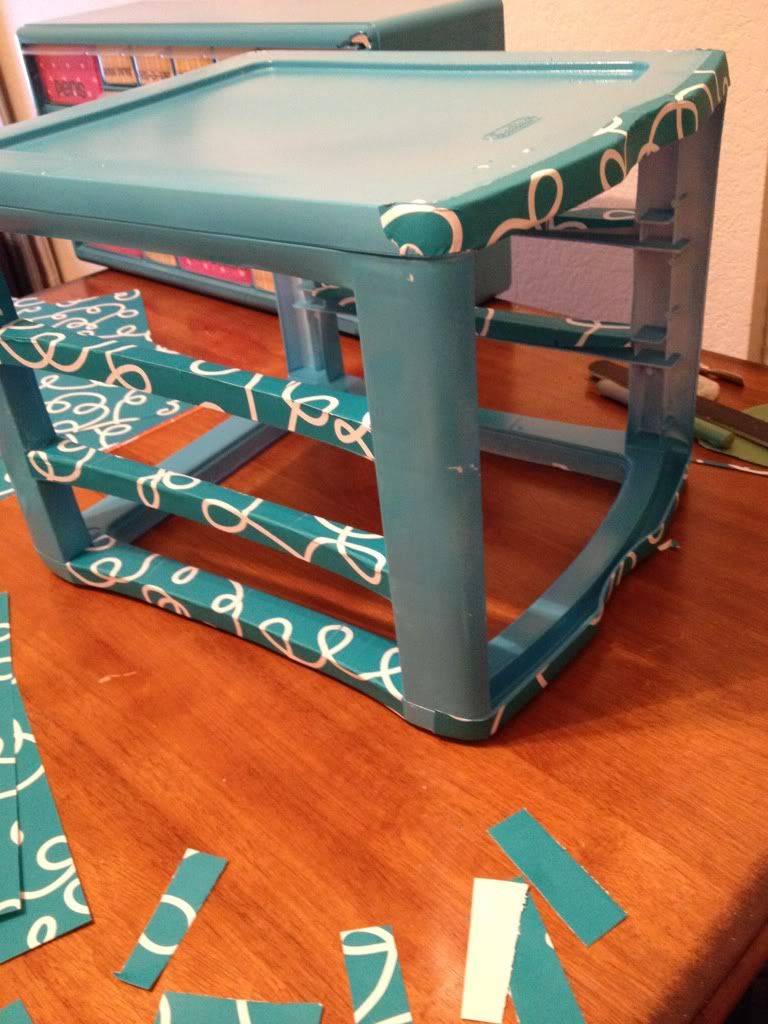
So enter modpodge!!! And after the first strip or two of this patterned paper I KNEW I had to cover it entirely.


Isn't it so cute??!!?!


Well..... if you haven't guessed already.... that wasn't quite enough. :) More pinterest inspiration and I had to add cute labels to the drawers.
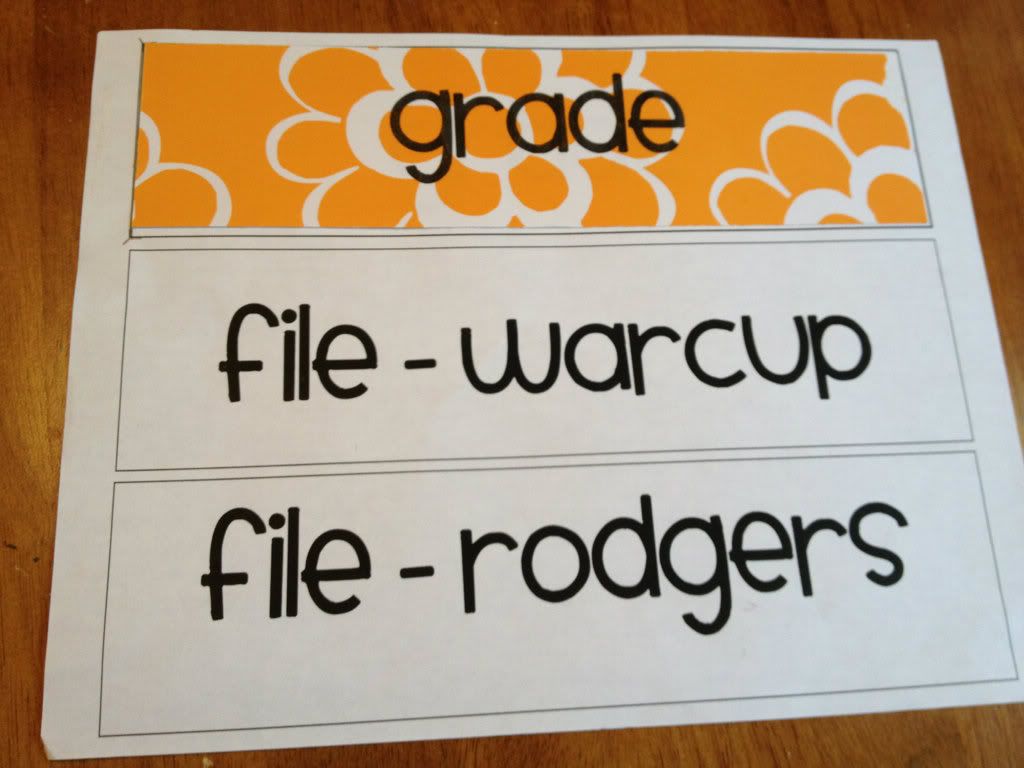
So I used my priniting on patterned paper technique I showed you in my previous post.

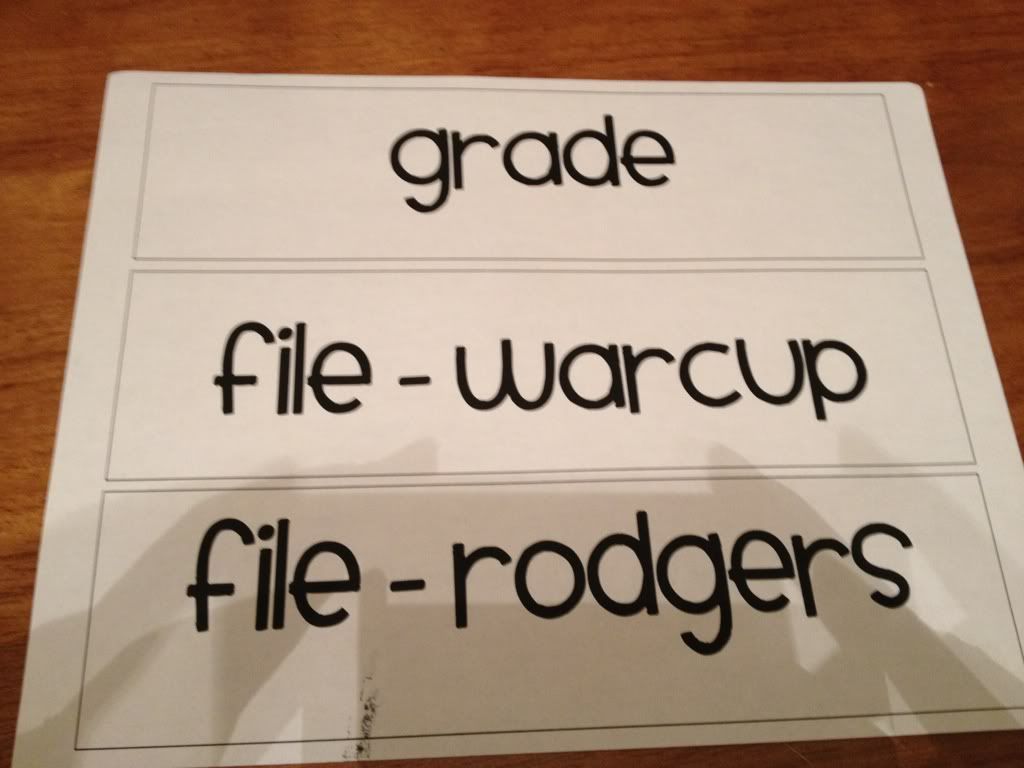
I printed a template using Microsoft word and textboxes... BTW I got my super cute font FREE from kevinandamanda.com - it is called Smiley Monster. LOVE IT!


Cut the patterned paper I wanted to size and made sure it fit....


Re-printed without the textbox outlines and was done!

What do you think??


Thanks for stopping by!!!


Pin It!

Teacher Toolbox

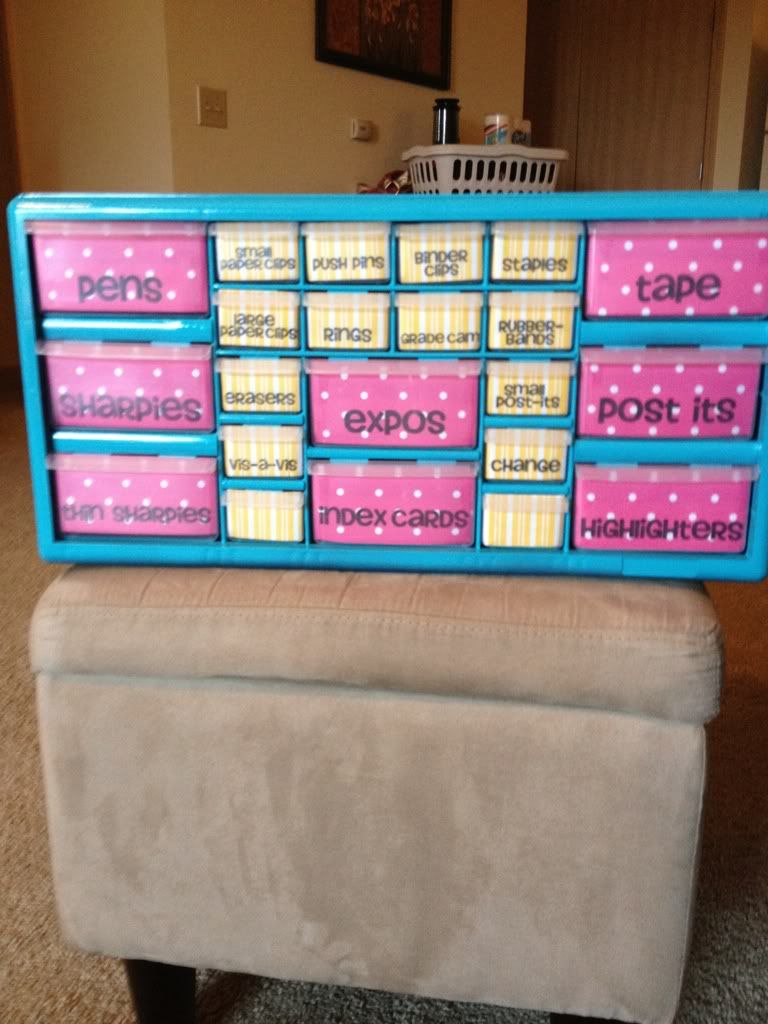
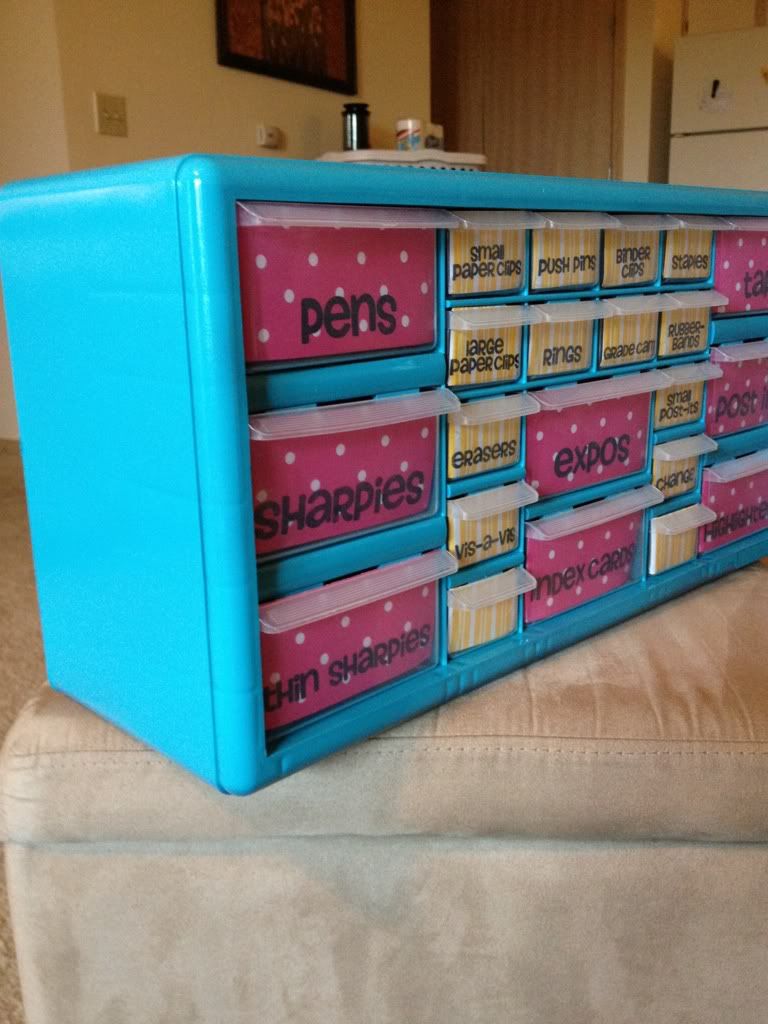
Like most teacher pinterest-ers (Yes, I like to make up words!) I have jumped on the "teacher toolbox" craze! I found the idea on Pinterest of course, but I found more details and FAQ from Mrs. Rojas on Create Teach Share.

I bought my toolbox from my local Lowes for $16 and some change! You can't be that!
It is actually called the "Stack-On 22 Drawer Storage Cabinet". I was surprised how "small" it was. In pictures it always looks bigger. But this little gem is actually the perfect size. It is roughly 9.6" long, 19.3" wide, and the drawers are 6.3" deep.
I got it home and started making labels for it right away! I used Mrs. Rojas dementions to make my own Word document to print my labels. Just visit my TpT store to get an editable version or click here.

In case you are wondering the font I used for my labels was FREE from kevinandamanda.com called Howser.


I will post an easy "How to" with my next post to show you an easy way to print on patterned paper. It saved me a lot of paper!

Here is my tool box after I loaded my patterned paper in it:


But nooooooo - more pinterest searching and I got the itch to paint it.


Thanks to my ever-so-patient hubby ... Here is the final product! I can't wait to put it in my classroom. I will post pictures once my room is complete!


Be sure to check out my next post to see how to print easily on patterned paper! Thanks for stopping in!

Pin It!